Initialize Keycloak
This file explains how to initialize Keycloak for use with a BIA application.
We will take the connection with an LDAP as an example.
Realm
Never modify the Master realm.
Create a new Realm, for example BIA-Realm
User federation
Create a new User federation, configure it and check that everything is ok with the buttons Test connection and Test authentication

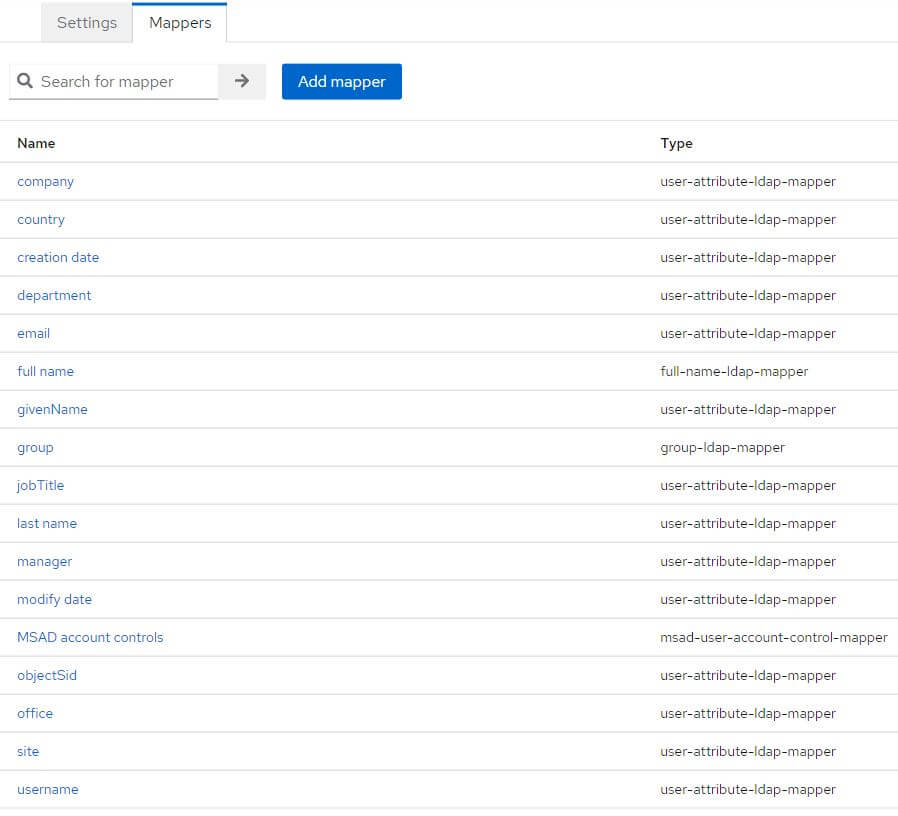
Among the fields requested in the User table in database, look at what the User federation contains. If any are missing, create the corresponding mappers.
For Groups, don't forget to fill the field LDAP Groups DN. For example: OU=Roles,OU=Groups,OU=DM,OU=Service,OU=XXXXXX,DC=eu,DC=xxxxxx,DC=xxxxxx
At the top right, select from the list, Sync all users

Client
Create a new client, for example, biaapp and fill Root URL and Admin URL with the root of your applications' URLs (example: https://myapp-int.mydomain/)
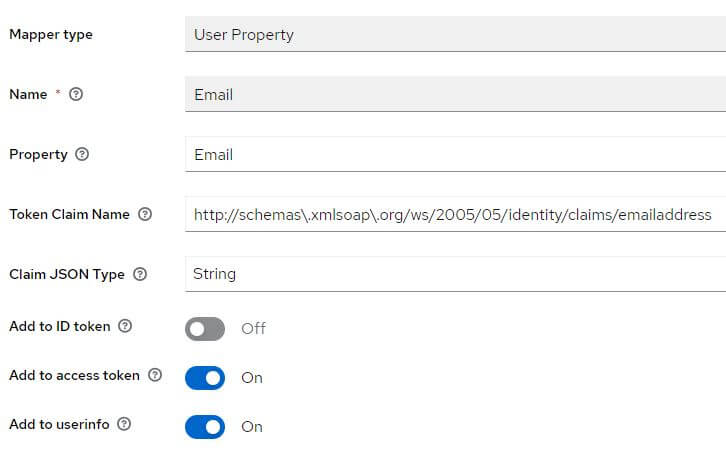
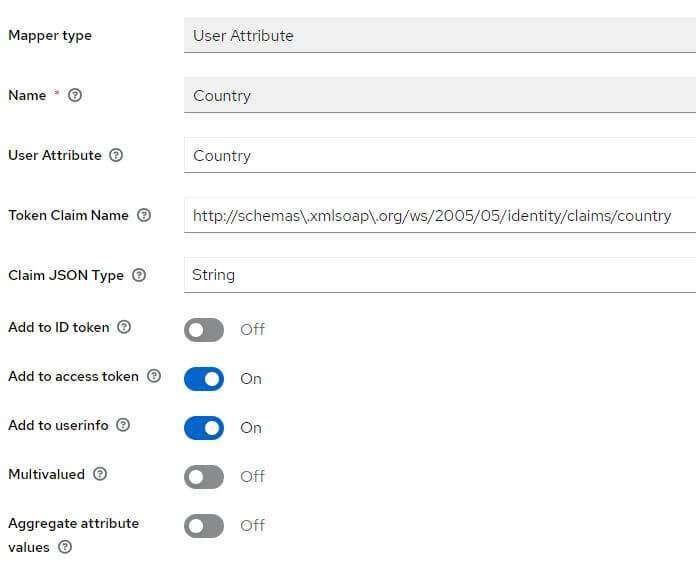
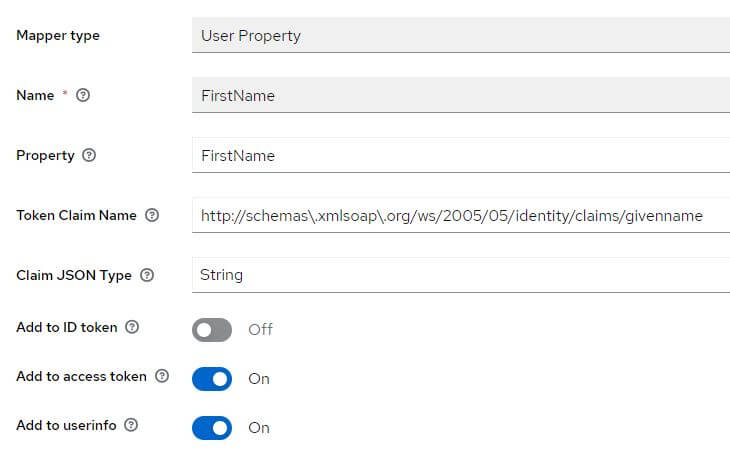
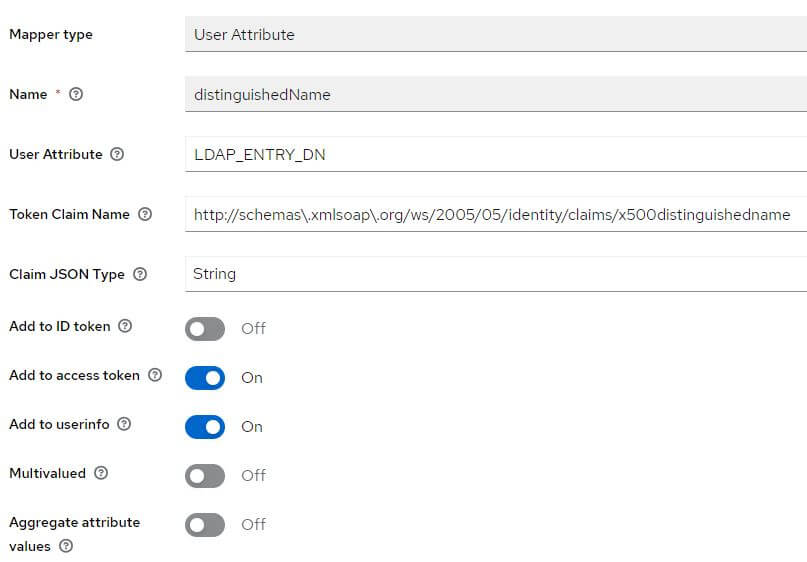
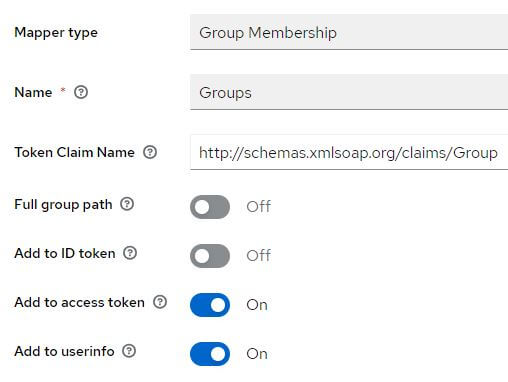
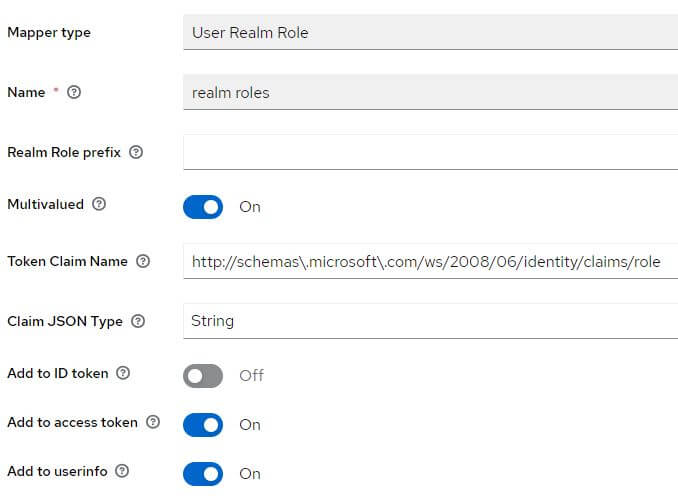
Go to the tab Client scopes and click on the link biaapp-dedicated contained in the table with the description: Dedicated scope and mappers for this client
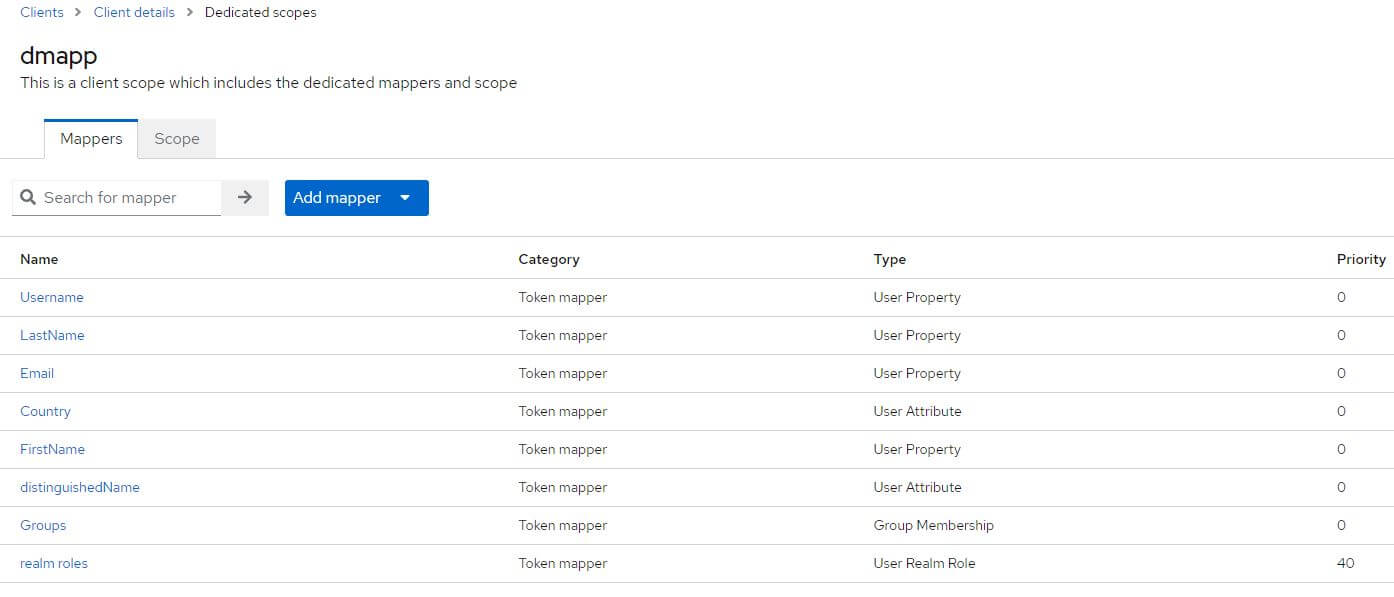
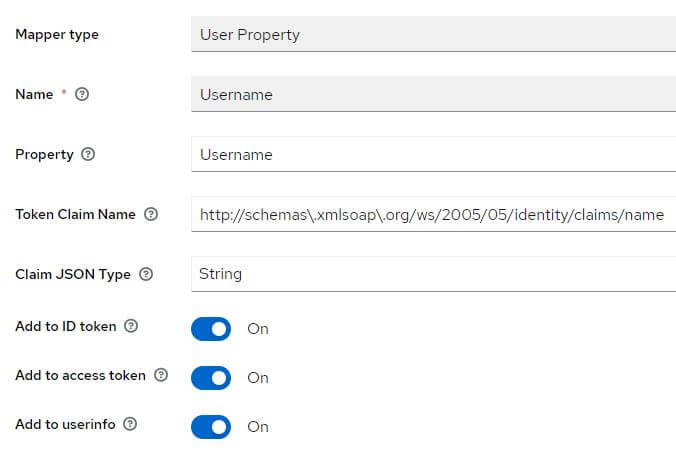
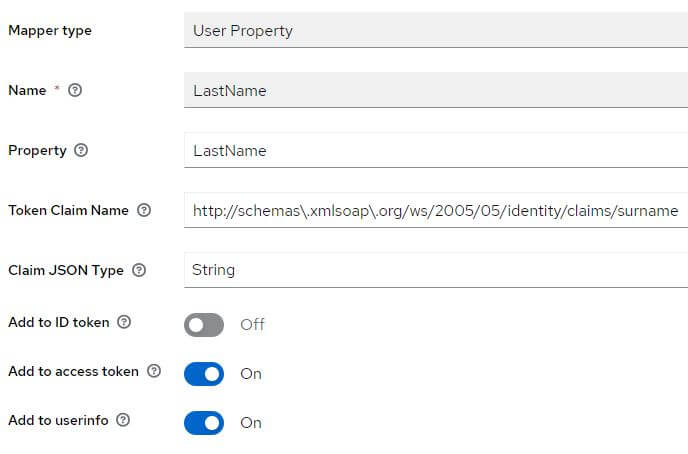
If they are missing, add them:
Role client
Go to Realm Roles, create the role bia-app-admin and bia-app-user-manager.
Group
Go to Groups, create the group APP_Admin and the group APP_BIADemo_UserManager
Click on the group APP_Admin and map the role bia-app-admin
Click on the group APP_BIADemo_UserManager and map the role bia-app-user-manager
For group APP_Admin and APP_BIADemo_UserManager, click on Members tab and add users.
Service Account
You must create a user in Keycloak which will be used to query the list of users in your realm.
In your realm, go to the User tab and create a user. Once created, create a non-temporary password.
Go to the Role Mapping tab and click on Assign Role
Select Filter by clients and select the following roles:
- realm-management query-users
- realm-management view-users